How to Safely Mount a Spreader to a Snow & Ice Control Vehicle
Created November 25, 2019
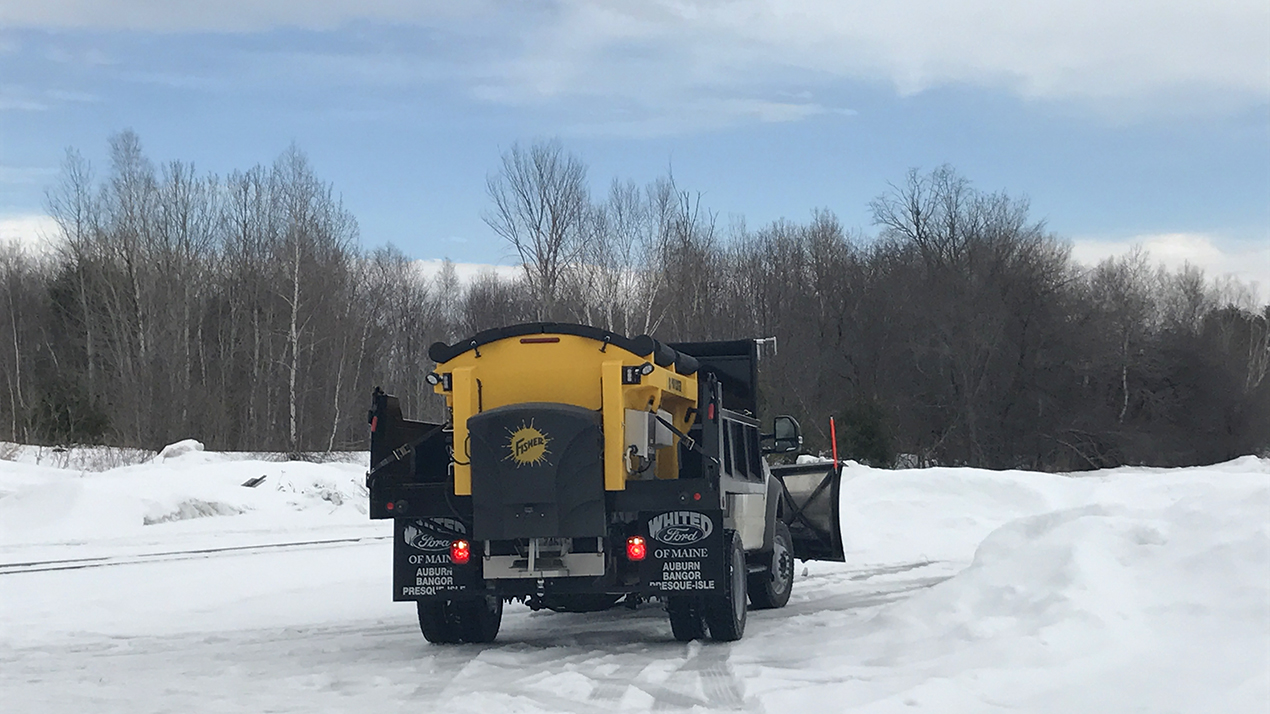
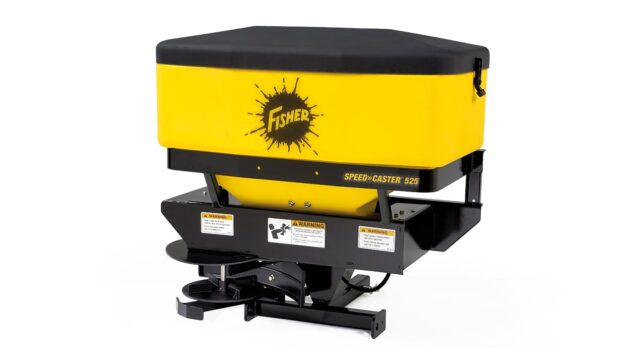
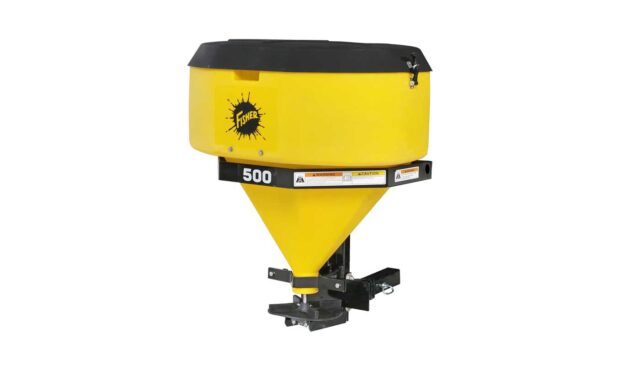
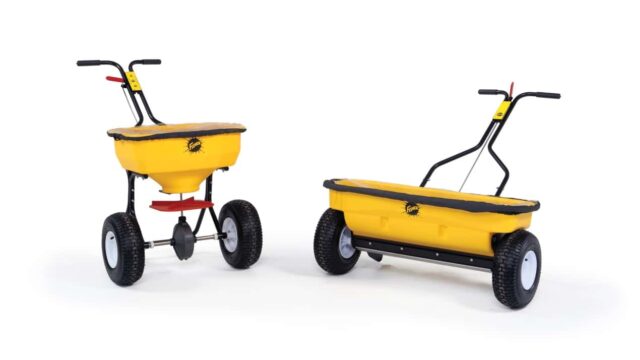
Winter snowfall is our ally as snow and ice professionals, but Mother Nature’s fury can test the limits of your team and their machines. Having your spreader equipment ready before the storm hits by following these simple steps can have your fleet ready to withstand whatever winter can throw at it.
Spreader Mounting
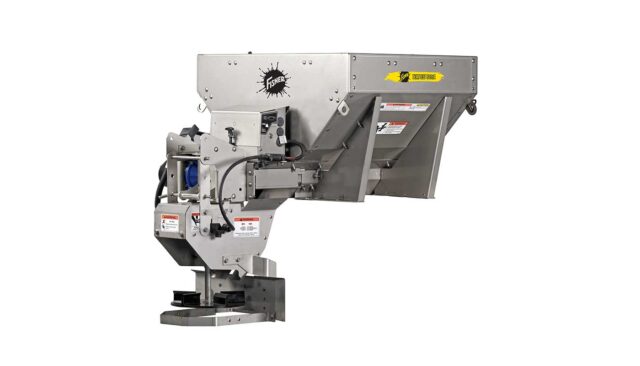
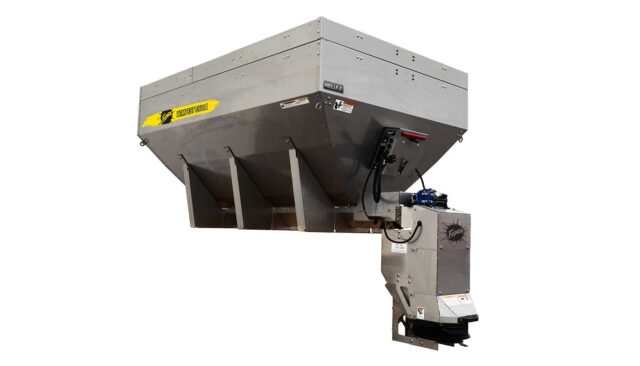
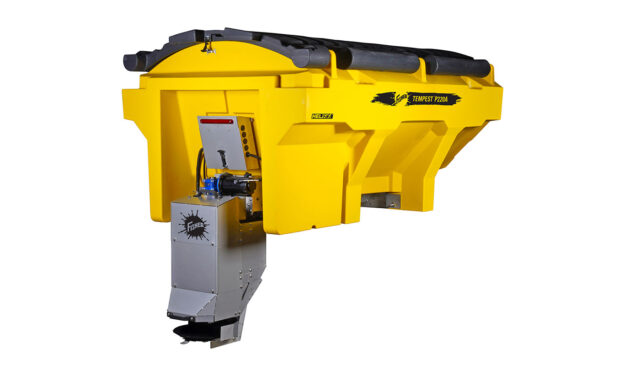
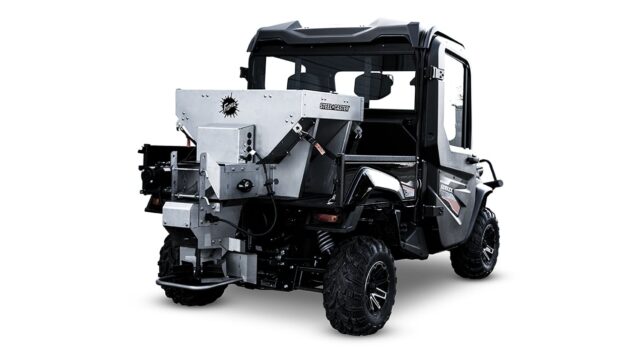
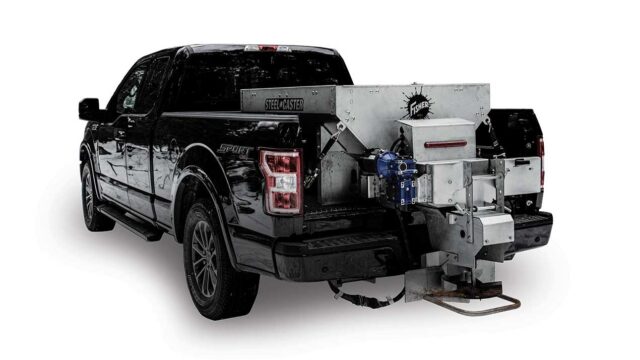
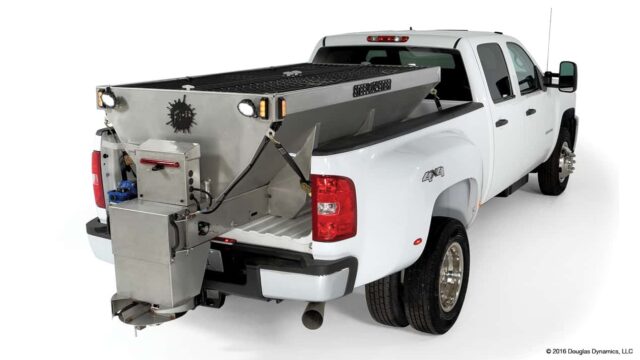
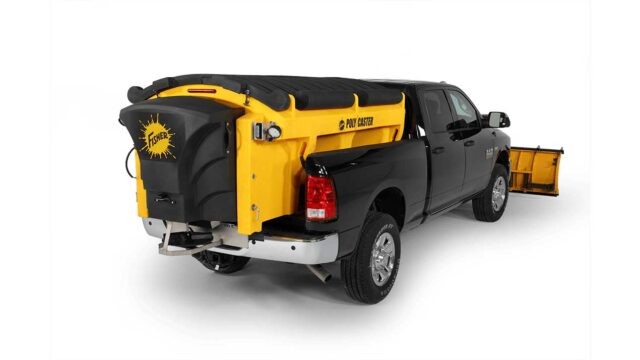
BLOCKING: The spreader must have blocking between the front of the sill and the bed of the truck to maintain support and proper spreader position in the vehicle.
BOLTS: The spreader must be bolted to the vehicle frame. Do not rely on tie-down chains or straps alone to hold the spreader in the vehicle.
STRAPS: Periodically check all spreader to frame fasteners and hold down straps for tightness and adjust as necessary.
Safety First
- Observe all safety stickers and notices that appear on the unit or are listed in the owner’s manual.
- When checking spreader for normal operations keep hands free from all moving parts.
- When greasing or servicing the unit make sure that the vehicle is turned off and all spreader controls are in the off position.
Pre-Trip Spreader Inspection
Prior to every storm event, make sure to complete a comprehensive pre-trip inspection on the spreader assembly to ensure safe and proper operations:
- Verify that wire harnesses and battery cable are properly secured away from hot or moving parts
- Check vehicle battery and charging systems for proper operation
- Check vehicle lights for functionality
- Check that all electrical connections are clean and free of corrosion
- Verify correct conveyor tension and alignment
- Ensure that conveyor system and spinner assembly work freely and properly
- Verify that dielectric grease is applied to all electrical connections
- Lubricate all grease fittings with good quality multipurpose grease
- Check that strobe and work lights are functioning properly
Originally written by SIMA and FISHER® Engineering.
