How to Effectively Plow a Gravel Driveway or Parking Lot
Created October 30, 2020
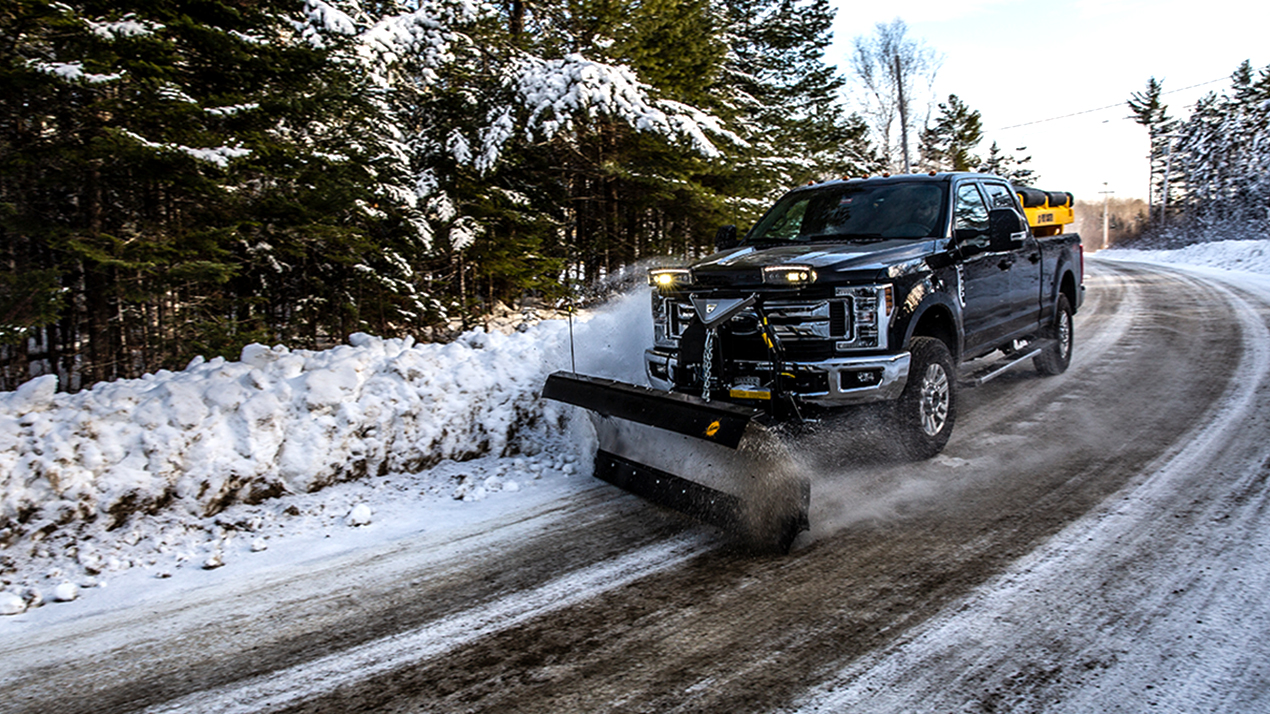
Different surface types require specific plowing techniques and products to get the job done effectively. The good news when plowing gravel is you won’t need to worry about damaging the pavement due to scraping since your plow should rarely touch the surface.
The one drawback when plowing gravel driveways and roads is that it’s fairly easy to spread gravel around the property. Although there are a few techniques and accessories that can help to reduce the amount of gravel you pick up, it’s inevitable.
Before the First Plow of the Season
It’s in your best interest to advise the client ahead of time that they will need to replace some gravel since it’s likely that the material may move around when plowing. There’s no way you’ll leave it perfectly intact. Clients with this type of property usually understand and have battled the same issue prior to hiring a winter contractor. A spring cleanup can be an easy sell at this point, leaving both you and the client happy in the end.
You should also make note of any problem areas such as wheel ruts, potholes or areas that are tilted to one side. This documentation can be useful should a client complain about deterioration of their gravel surface when it was already in that state at the beginning of the season.
First Snowfall Pro Tip—Allow the Gravel Surface to Compact
Even though it sounds counterintuitive to what you would typically do with a paved surface, you’ll want to wait until the first snowfall sits and packs down before plowing gravel. Surfaces with smaller pebble sized gravel can freeze and compact over time. Whereas loose stone has a harder time creating a solid surface, making it easier to accidentally transfer material to other areas on the property. By leaving a small amount of snow on top of the gravel during early seasonal operations, it continues to pack down over time as people walk and drive over it.
Some regions have fluctuating weather that makes this approach less than ideal because the base thaws, leaving dry gravel again. In that case, you may need to do this more often in order to keep a solid surface as much as possible.
Techniques for Plowing Gravel Driveways and Roads
Even an experienced plow driver can have difficulty when plowing a gravel driveway or parking lot. It usually takes a few events to get the hang of each property and determine the ideal approach for that specific property type and your plow setup.
- Go slow! Speed can really make a difference when plowing a gravel drive or parking lot. The faster you go, the more gravel you’ll pick up and transfer.
- Adjust the blade height. Your plow is most likely set for smooth pavement, but with gravel you’ll want to raise it about a half-inch or so to prevent it from scraping the gravel.
- Tilt the front of the blade. When you have a slightly aggressive attack angle around 40 to 45 degrees, it will help reduce the inherent need to scrape the surface.
- Wait for 2″ of snow. Since you want to leave a buffer of about an inch of snow between the blade and gravel, you won’t want to plow unless there’s a decent snowfall.
- Turn off the radio and listen while you plow. If you’re scraping any gravel you’ll hear it clinking against the plow and will be able to feel the plow digging into the dirt below. As soon as you hear or feel anything unusual, it’s time to make adjustments immediately.
- Start at the center. When you start on one edge, you’ll end up with a large pile of snow on the opposite edge that can become a hazard. Its best start down the center, driving the entire length and moving towards the edges as you’re working the snow to either side. Tilt the blade edge so the snow trails outward.
- Take multiple passes for heavy accumulation. When there’s a heavy snowfall, multiple passes can help reduce wear on your equipment and also keep the gravel base compact. Lower the blade a little more with each pass until you’ve successfully removed the bulk of snow and only have a small layer on the surface.
The “Drop and Lift a Bit” technique works well on flat ground, but if there are hills and valleys, you may miss a lot of snow. You might need to keep adjusting the plow up and down, following the terrain.
Accessories to Assist
Rural areas are more likely to have gravel surfaces. Contractors that have more than a few properties with gravel surfaces may want to add accessories to their plow setup. These will help in the effective and efficient removal of snow.
- Plow Shoes: These attach to the bottom of the snowplow blade and slightly raise it, allowing it to float over the gravel. Set the shoes about 3/8″ below the blade and adjust them to be about ½” above the ground. Depending on the climate, some contractors remove these after the start of the season when a base of hard packed snow is created. If the surface isn’t level, you might need to raise the plow a little before the first pass.
- Poly Edges: While you can typically use steel edges, for sensitive gravel surfaces giving your problems, you might want to try poly edges. The wider (1” or more) poly edge can “ride up” more easily and protect the gravel.
- Back Drag Edge: Instead of plowing into the gravel, plow in reverse with a back drag edge. This technique is also ideal for driveways when you’re trying to pull snow away from a garage door or tight space. If the snow has started to freeze, it might help to push the snow forward to loosen it and then raise the blade, pass the pile, and back drag it out.
Spreader Material Recommendation
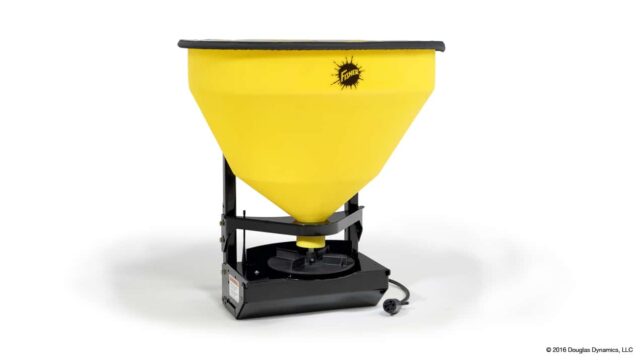
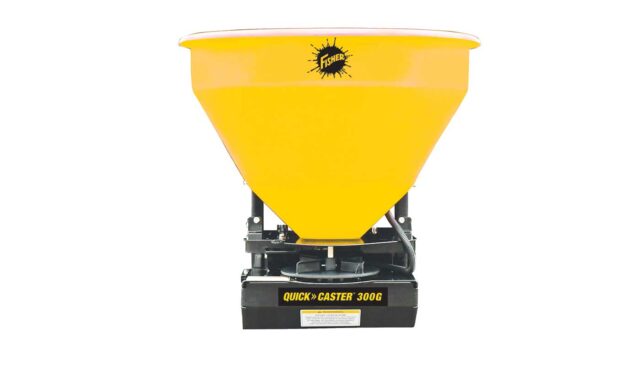
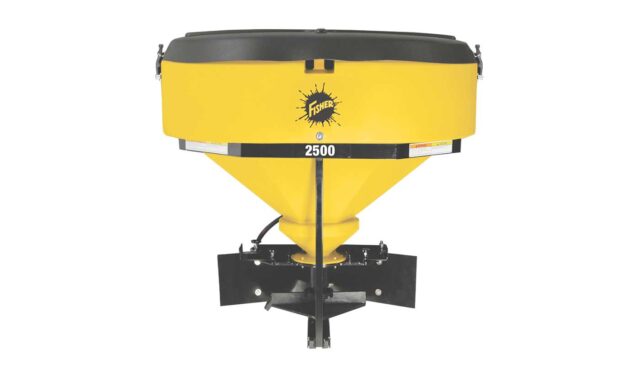
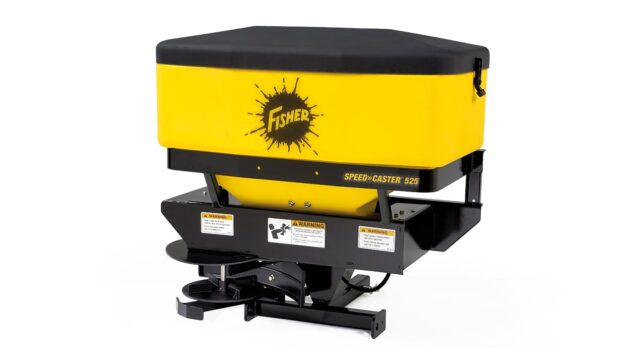
Over applying salt can lead to issues with gravel driveways because the salt will seep down, keeping the surface liquid, and turn the property into mud which isn’t ideal. Most contractors use a mix of sand and salt for gravel driveways to create traction but not completely melt the hard pack base. If you do apply salt, wait to see which patches are still completely frozen or iced over rather than already melted (for example, shaded areas). Spot treat with salt as needed, rather than apply generally.
Gravel properties may seem a bit intimidating to plow but as with most things in the snow and ice industry, practice makes perfect. Take it slow and pay attention—before you know it, you’ll be plowing like a pro.
